




1
Upload Your Source Video
Choose an MP4, MOV, AVI, MKV, or WebM file up to 100MB. A high-quality original gives the remover better visual context around the logo, timestamp, caption, or text you want to clear.
Use this video watermark remover to clear logos, timestamps, captions, and text overlays. Preview the result through motion before you download.
Drag and drop a video here, or choose a file to open the editor.
Maximum file size: 100MB
Explore the toolkit
Jump straight into a focused workspace for removing or replacing backgrounds and improving video quality.
The video watermark remover gives creators a focused place to test difficult overlays, inspect repaired motion, and keep the original frame available for the next editing step.
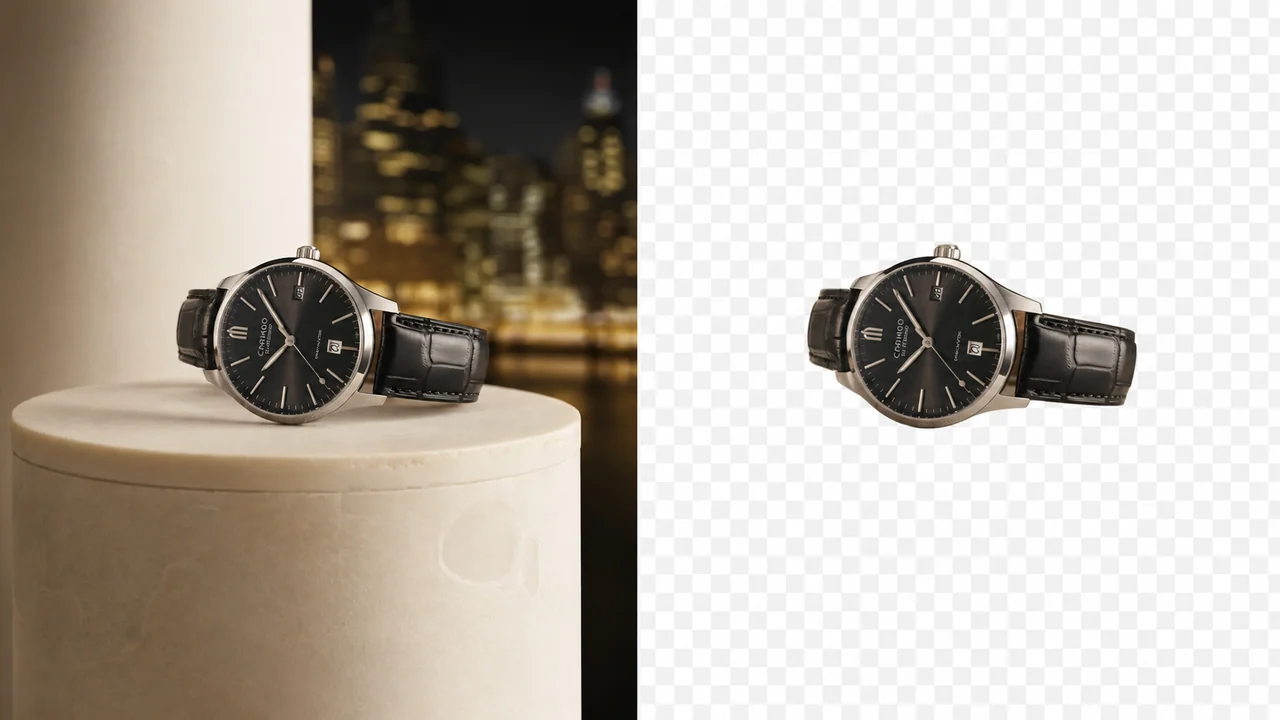
Reuse a product demonstration, campaign draft, or approved brand clip without sacrificing the original composition. The video watermark remover targets the selected logo or text area so products, presenters, labels, and framing can stay in place. Use the remover to watch the cleaned result through camera movement, reflections, and changing light before downloading it for another remover pass.
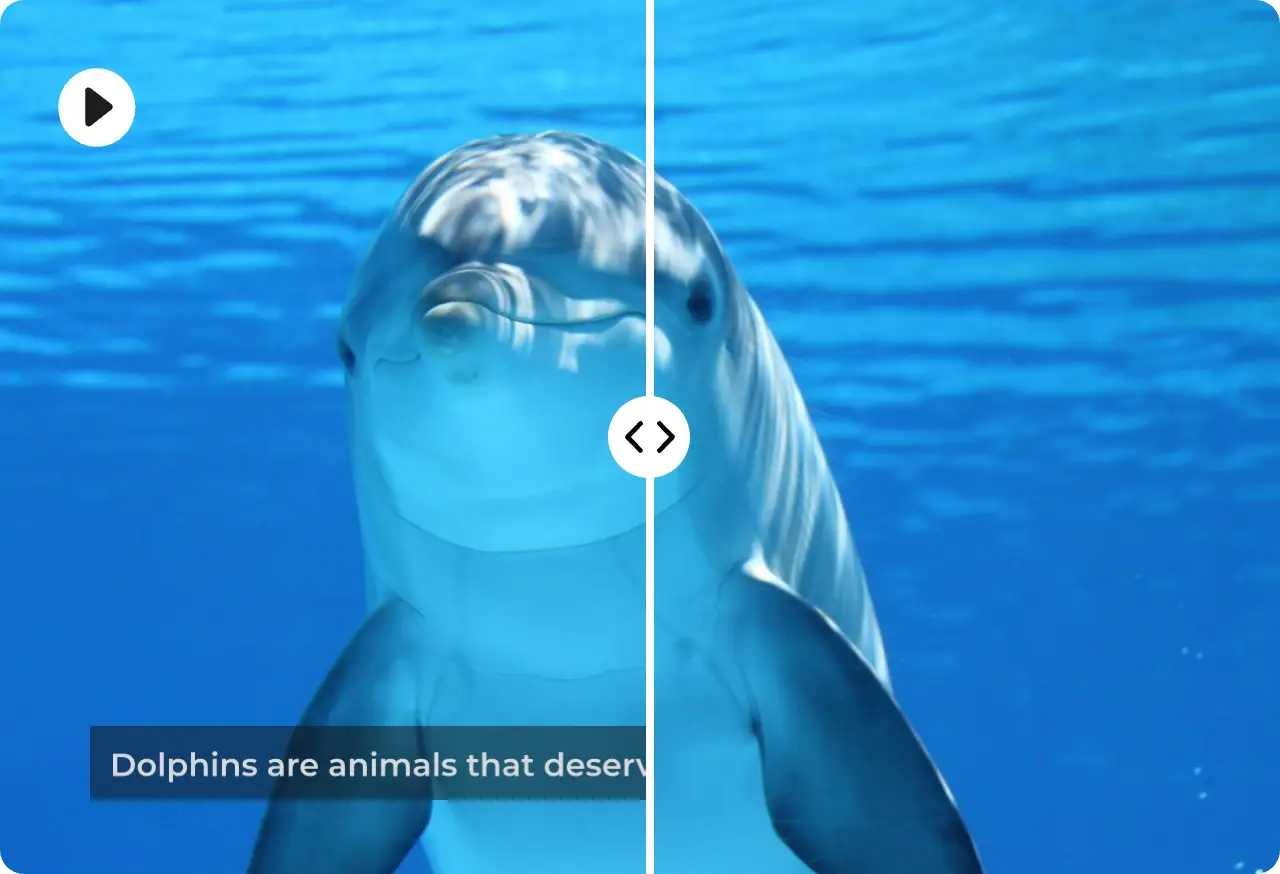
Captions, timestamps, usernames, and promotional text can cross faces, clothing, or detailed scenery. Use the video watermark remover to mark the smallest practical area, then preview the section at normal speed. For a remove watermark video task with moving text or rapid cuts, use the remover to compare several moments instead of approving a single still frame.
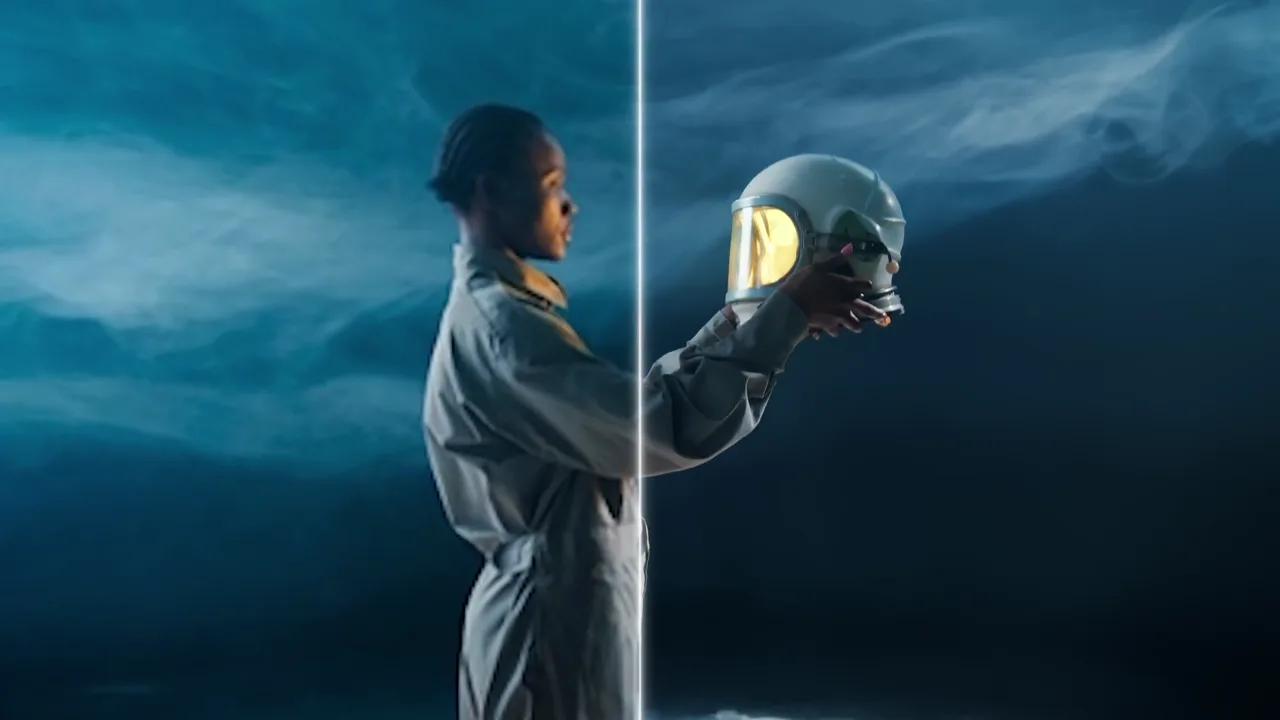
Logos and platform marks often sit near an edge where cropping would remove a face, product, or deliberate vertical composition. The video watermark remover helps preserve that frame while repairing the overlay region. Review hair, hands, shadows, and fast gestures in motion, then keep the source clip available in case another remover pass is needed.
Remove watermark from video footage while keeping the original framing, motion, and visual story intact. Choose the remover workflow that fits the overlay, inspect the preview, and export only after the repaired area looks consistent.
Use the video watermark remover to clear corner logos, channel marks, or branded overlays without cutting away faces, products, subtitles, or carefully composed edges of the frame. The remover protects the composition while you review the repair.
Mark a specific region for a fixed overlay or use automatic processing when the watermark is easy to detect. Focused remover controls help protect the surrounding texture from unnecessary changes.
A still frame can hide flicker, repeated texture, or shifting edges. Preview the remover output at normal speed and pay special attention to movement, reflections, lighting changes, and fine detail.
Start with the best source available when you remove a watermark from a video file. Clear detail gives the remover more surrounding information to work with, especially near hair, text, and patterned backgrounds.
Upload MP4, MOV, AVI, MKV, or WebM files up to the current size limit. This remove watermark video workflow lets you test a short preview before choosing full-video processing for longer footage. The remover supports each listed format in the same focused workspace.
The video watermark remover is useful when cropping would remove a product, speaker, caption, or intentional composition. The remover targets the marked overlay so the complete frame can remain available for editing.
The video watermark remover keeps the process focused: add your source, identify the unwanted overlay, and inspect a moving preview before downloading a cleaned version.
Choose an MP4, MOV, AVI, MKV, or WebM file up to 100MB. A high-quality original gives the remover better visual context around the logo, timestamp, caption, or text you want to clear.
Pick manual paint for a precise region or automatic remover mode for a clear overlay. For a remove watermark video task, cover the unwanted watermark closely instead of selecting unrelated picture detail.
Run a short preview with the video watermark remover, then let the remover show the complete sample through motion. If edges and textures remain stable, continue to the full-video option and download the result.
Practical answers about supported files, clean previews, difficult overlays, and responsible use.
It is a remover that analyzes the pixels around a logo, timestamp, caption, or text overlay and creates a repaired region across successive frames. Results depend on motion, texture, lighting, and how much original picture detail the mark covers.
Upload a supported file, select manual or automatic removal, identify the overlay, and process a short sample. Review the full preview at normal speed before using the longer paid remover workflow, because movement can reveal artifacts that a paused frame does not show.
Yes. The remover is designed to repair the selected area instead of trimming the frame. That makes it useful when the original composition matters, although a logo covering faces, text, or rapidly changing detail may still leave visible artifacts.
The remover currently accepts MP4, MOV, AVI, MKV, and WebM files up to 100MB. Use the highest-quality source you have, and confirm that the file plays correctly before processing so existing compression damage is not blamed on the remover.
A repair from the remover can look convincing in a single image while flicker, repeated patterns, soft edges, or shifting color appear during playback. Watch the busiest part of the clip and compare faces, labels, reflections, and fine background textures before export.
Use the remover after the free short preview looks stable and the selected area stays clean across movement and scene changes. Full-video processing uses credits and currently supports footage within the displayed duration limit, so testing the most difficult section first helps avoid an unnecessary export.
Moving marks are harder because their position changes across video frames. The video remover may need a closely painted region or a representative preview that includes the motion. Semi-transparent watermark graphics can blend with clothing, reflections, and texture. Test the busiest part first, remove only the intended watermark overlay, and examine several video frames around fast movement before processing the complete video.
Only edit footage you own or are authorized to change. A watermark can identify a creator, license, platform, or source, so removing it does not transfer rights to the underlying video. Confirm the intended video use, keep the original video file, and document approval before you remove a logo or watermark. The remover is an editing workspace, not a substitute for permission or attribution.
Start with the highest-quality video available and select a video preview that includes motion, lighting changes, and the most detailed background. Keep the mask close to the watermark, remove unrelated pixels from the selection, and compare the result at normal speed. If the remover leaves flicker or repeated watermark texture, try a cleaner source, a smaller region, or a different section before using full processing.
Start with a short preview, inspect the repaired area through real motion, and continue to a full export only when edges and textures remain stable.