




AI background removal workspace

AI Image Background Remover Online

Use an image background remover to remove background from image files, review fine edges, and download a transparent PNG for design or ecommerce.

Example image - After
Example image - Before
Original
Background removed

Try the example or upload your own JPEG, PNG, or WebP image.

Free processing with no loginTransparent PNG outputPremium history and privacy
Processing mode

Anonymous free allowance

5 of 5 removals remaining

24H

Each successful free result counts once. The allowance resets 24 hours after your latest successful removal.

Explore the toolkit

All Tools

Jump straight into a focused workspace for removing or replacing backgrounds and improving video quality.

See the Image Background Remover Across Real Photo Types

Each example shows how the tool can remove background image areas while keeping the subject ready for a catalog, profile, social post, presentation, or another creative layout.

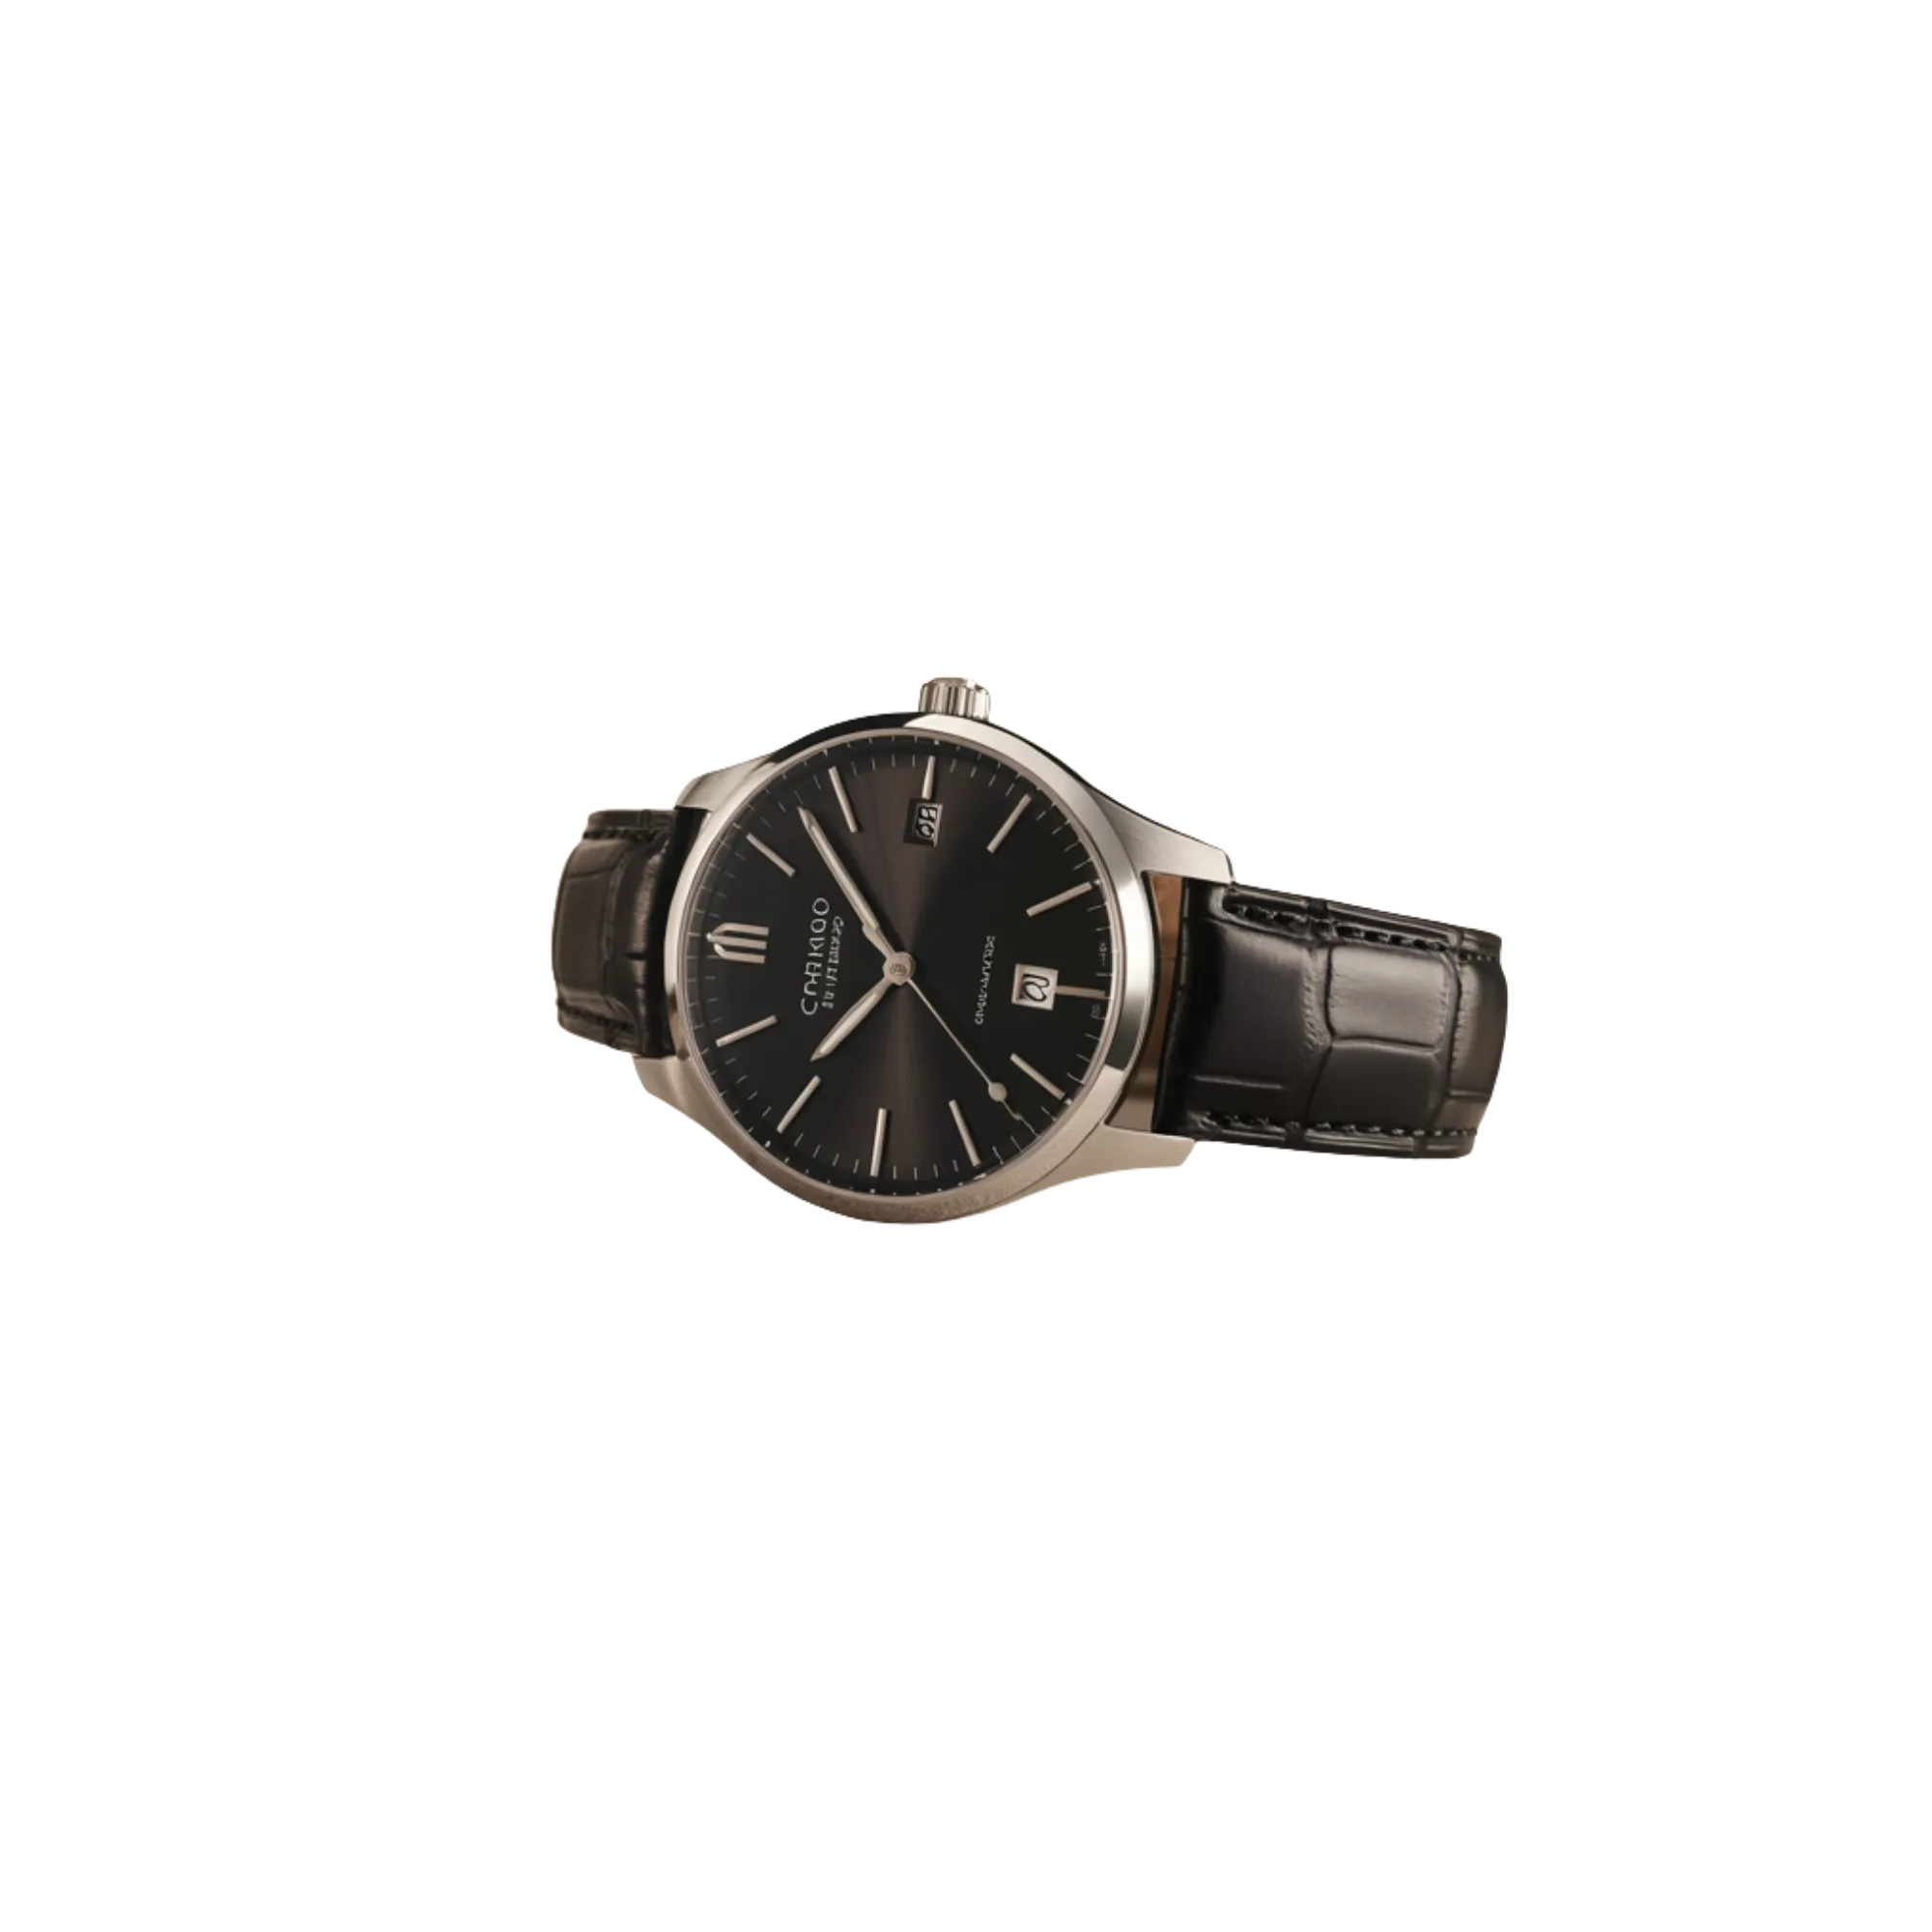
Prepare a Product Cutout for Storefront Layouts - After
Prepare a Product Cutout for Storefront Layouts - Before
Before
After
Product photography

Prepare a Product Cutout for Storefront Layouts

A watch, accessory, or packaged item often includes reflective metal, dark materials, narrow edges, and contact shadows. Use the image background remover to remove background from image files like this product photo, then compare the outline around the case, strap, crown, and shadow before placing the transparent result into a marketplace template or campaign design.

  • Inspect reflective product edges
  • Keep narrow parts visible
  • Export a reusable transparent PNG
Review Fur, Whiskers, and Irregular Outlines - After
Review Fur, Whiskers, and Irregular Outlines - Before
Before
After
Fine-detail subjects

Review Fur, Whiskers, and Irregular Outlines

Animals and textured subjects are useful tests because fur, whiskers, leaves, paws, and bright rim light create a complicated boundary. The image background remover helps clear the original scenery around those details, but the processed cutout should still be reviewed over several contrasting colors before it is used in a poster, educational graphic, thumbnail, or composite.

  • Check fur and whisker detail
  • Review bright rim lighting
  • Compare against contrasting colors
Create a Flexible Portrait for New Designs - After
Create a Flexible Portrait for New Designs - Before
Before
After
Portrait workflow

Create a Flexible Portrait for New Designs

Portraits can include loose hair, layered clothing, skin tones, and soft light near the original scene. Use the image background remover to separate the portrait subject, inspect the hairline and coat edges, and keep the transparent cutout available for profile graphics, speaker cards, presentation slides, social artwork, and branded layouts without repeating the full edit.

  • Inspect hair and clothing edges
  • Preserve a natural silhouette
  • Reuse the cutout in new layouts

What This Image Background Remover Helps You Create

Use the image background remover to turn a busy source photo into a flexible cutout. The focused workspace helps you remove background image areas, review the subject boundary, and prepare an asset for the next layout.

Automatic Subject Cutouts

Upload a portrait, product photo, or graphic and let the image background remover identify the main foreground subject. Automatic separation avoids tracing every edge by hand and gives you a practical first result that can be checked before download.

Transparent PNG Output

Download a transparent PNG when the subject needs to sit over a new color, photograph, presentation slide, marketplace template, or design canvas. Transparency keeps the cutout reusable without locking it to the original scene.

Fine-Edge Review

Use the image background remover preview to inspect hair, fur, fingers, glass, reflections, narrow gaps, and soft shadows. Compare difficult edges against light and dark colors so halos or missing details are easier to notice.

Common Image Formats

Start with a JPEG, PNG, or WebP image up to the limit shown in the uploader. A clear, high-resolution source usually makes it easier to separate the subject while preserving small product details and natural outlines.

Product and Marketplace Assets

Use the image background remover to prepare consistent catalog cutouts from supplier photos or camera shots. After processing, check reflective packaging, pale products, labels, and contact shadows before placing the result in a storefront template.

Portrait and Creative Layouts

Remove background image distractions from a headshot, profile graphic, social post, thumbnail, or presentation asset. Keep the original file available so you can compare facial details, hair, clothing, and accessories before publishing the finished composition.

Three-step workflow

How to Remove Background from Image Files

The image background remover follows a simple workflow: choose a suitable source, process the photo, and review the transparent result. A careful final check matters when the asset will appear at a large size or on a contrasting background.

1

1. Upload a Clear Image

Choose a JPEG, PNG, or WebP file with a visible foreground subject. Higher resolution, useful contrast, and limited compression give the image background remover more detail to evaluate around hair, fabric, transparent objects, product edges, and small interior gaps.

2

2. Process the Background

Start the removal and wait for the preview to finish. The tool analyzes the foreground and attempts to remove background image regions without requiring a hand-drawn mask. Complex lighting, blur, overlapping objects, and similar foreground and background colors may need closer inspection.

3

3. Review and Download

Compare the original and processed views, then place the cutout over light, dark, and saturated colors. This image background remover check can reveal pale fringes, clipped details, or leftover pixels before you download the transparent PNG and continue editing.

Image Background Remover FAQs

Practical answers about uploads, transparent output, source quality, edge checks, and preparing a clean image cutout for another design.

How do I remove background from image files online?

Upload a supported JPEG, PNG, or WebP file, start the image background remover, and wait for the processed preview. Compare the original and result around the most detailed edges, then download the transparent PNG when the cutout looks suitable for your project.

Can I use the image background remover without signing in?

The workspace shows a Free mode with an anonymous allowance, so you can test a supported image without logging in while capacity remains. The page displays the current remaining allowance and reset information before you start another removal.

Which image formats can I upload?

The uploader accepts JPEG, PNG, and WebP images up to the displayed size limit. For the cleanest result, avoid repeatedly compressed files and choose the highest-resolution source available, especially when hair, transparent material, small text, or reflective packaging must remain intact.

How can I remove background image areas cleanly?

Begin with a sharp source where the subject is visually distinct from the surrounding scene. After the image background remover finishes, inspect the boundary on several colors. Fine hair, soft shadows, glass, motion blur, and low contrast are the areas most likely to need extra attention.

Why do some edges look uneven after removal?

Low resolution, compression blocks, blur, reflections, translucent objects, and similar foreground and background colors can make separation less precise. Review the cutout at normal size and close zoom, because a boundary that looks acceptable on white may reveal a halo on a dark layout.

Can I prepare product listing images with this tool?

Yes. An image background remover can prepare a reusable product cutout for marketplace thumbnails, catalog grids, advertisements, and branded layouts. Check labels, reflective surfaces, pale edges, and contact shadows, then confirm that the final asset follows the destination platform requirements.

What should I check before downloading the transparent PNG?

Inspect hair, fingers, narrow gaps, fabric, glass, shadows, and reflective details. To remove background image remnants that are easy to miss, preview the subject over several contrasting colors and compare it with the original before using the file in a finished design.

Create a Clean Cutout With the Image Background Remover

Upload a clear source, remove background from image files, and review every important edge before downloading a transparent PNG. Keep the original nearby when you remove background image areas for a product, portrait, or creative layout.